Building a Brick Barbecue in Your Garden
Building a permanent brick barbecue in your garden can be a rewarding project that provides a stable, heat‑efficient cooking space. While not easily moved once built, a well‑constructed brick barbecue offers consistent heat and a great outdoor cooking experience.
Advantages of a Brick Barbecue
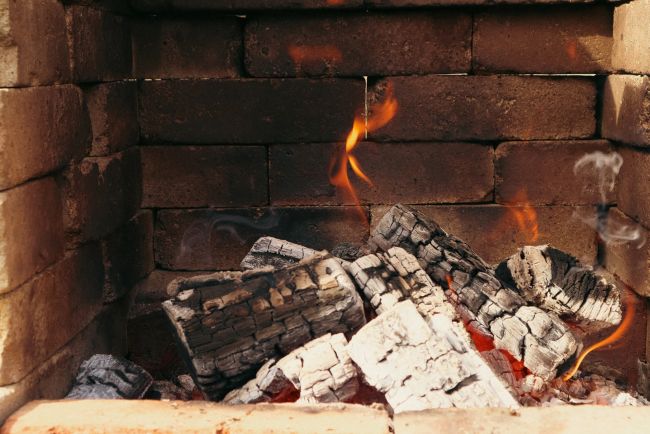
- Retains and Radiates Heat: Engineering bricks or concrete blocks hold heat like a storage heater, giving off steady, even warmth—ideal for longer cooking times (e.g. baked potatoes in foil).
- Solid and Durable: Once built, it provides a robust, weather‑resistant structure.
- Customisable Design: You can tailor the design to your space and cooking needs, including grill height and storage features.
Disadvantages
- Static Placement: Once built, it cannot be easily moved without dismantling.
- Initial Planning Required: Choosing the wrong location can lead to issues with smoke direction and usability.
Planning Your Barbecue
- Choose a Suitable Location
- Use a temporary barbecue first to assess wind direction, airflow and smoke dispersal.
- Check accessibility from your kitchen or seating areas.
- Avoid wind tunnels or spots where smoke might blow back towards the house or your guests.
- Select Your Grill and Components
- Choose or custom‑make your grill racks before building.
- Look for metal clips or supports that can be embedded in the brickwork at multiple levels so you can adjust grill height.
- Decide on a charcoal tray or fire base to sit at the bottom and hold your burning material.
Construction Process
- Foundation
- Mark out the base area and create shuttering for a concrete slab.
- Pour and level the concrete to form a solid, level foundation.
- Let the concrete cure thoroughly before building on it.
- Dry Stack to Plan
- Dry‑stack the bricks or blocks first (without mortar).
- Adjust layout and dimensions based on grill size and preferred working height.
- This step helps you visualise the final shape and placement of key elements such as grill supports.
- Lay Bricks with Mortar
- Start laying bricks or engineering blocks using mortar.
- Build up the courses, embedding the grill support clips at your chosen heights.
- Check regularly for level and alignment.
- Finishing Touches
- Cladding (optional): If using concrete blocks, clad the exterior with natural stone or tiles for a decorative finish.
- Engineering bricks often have a clean, attractive look and may not need additional cladding.
Additional Considerations
- Paving or Ground Surface: Create a paved or gravelled area around the barbecue for safe footing and easy cleaning, leaving enough space for standing and turning while cooking.
- Work Surface or Prep Area: Consider building a simple side table using blocks or bricks with a flat surface for prep work, holding utensils and trays, and storing cooked and uncooked food.
Final Tip
Allow the mortar to cure fully before firing up the barbecue to prevent heat damage.

