A Short Guide to Repotting Houseplants

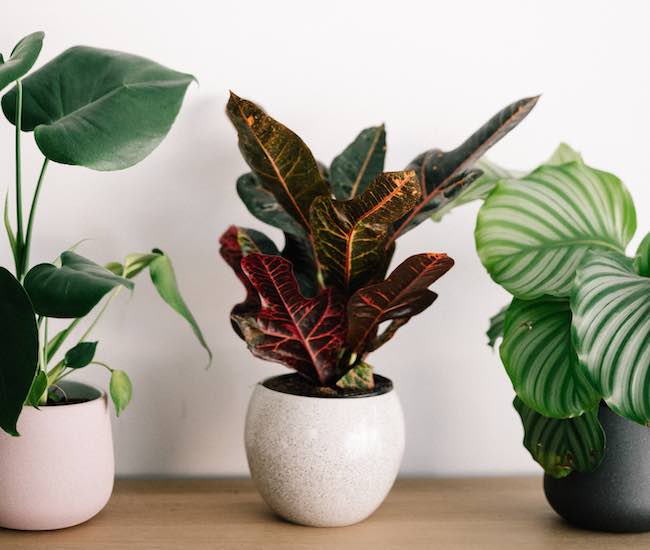
Houseplants make an excellent addition to interiors of every sort. With their help, you’ll be able to bring a little bit of the outdoors into your living space. They’re proven to aid relaxation and to generally bolster your mood. After all, our bodies have been shaped by evolution to feel contented when we’re surrounded by green things (which tend to be associated with plenty) and to get slightly restless when we’re not.
We see evidence of a boom in houseplants, courtesy of research by fitted furniture specialists Hammonds. The researchers cite a 21% uptick in Google searches for ‘biophilic design’, in 2021. There were also more than eight million Instagram posts related to houseplants. Our enthusiasm for greenery was heightened by lockdown – but it hasn’t shown any signs of going anywhere since then.
How to Repot Your Houseplants the Right Way
Including tips on John Innes compost, terracotta pots, and boosting humidity
Houseplants are a fantastic way to enhance any indoor space. They bring the calming presence of greenery into your home, aid relaxation, and even help to improve your mood. Research suggests that our affinity for plants is rooted in evolution—green surroundings signal abundance and security, while bare spaces can feel unsettling.
The popularity of houseplants has soared in recent years. According to research by Hammonds, Google searches for “biophilic design” increased by 21% in 2021, and houseplant-related posts on Instagram exceeded eight million. While lockdown may have triggered the trend, the love for indoor greenery shows no signs of fading.
If you want your houseplants to thrive, however, regular repotting is essential. Repotting gives your plants the room they need to grow and refreshes the soil with vital nutrients.
When to Repot
Look for signs that your plant has outgrown its container:
- Roots growing through the drainage holes or pushing the plant upward
- Soil drying out unusually fast
- Slower growth or general decline in the plant’s condition
These are all cues that it’s time to upgrade the pot and refresh the compost.
Getting Prepared
Before you begin, gather everything you need:
- A new pot (ideally terracotta for improved breathability)
- John Innes compost (choose No. 2 for most houseplants or No. 3 for mature specimens)
- Gravel or crocks for drainage (if the pot has no holes)
- Pruning shears
- Watering can with fresh water
Removing the Plant
Gently remove the plant from its current pot:
- Turn it sideways and ease it out by tapping the base.
- Loosen the roots carefully—trim away any damaged or fine straggly roots if necessary.
- If reusing the same pot, remove about a third of the old compost to make space for fresh material.
Repotting with John Innes Compost
John Innes compost is a soil-based mix that provides excellent structure and retains nutrients well. It’s especially helpful for houseplants that prefer a bit more weight and moisture control than peat-based mixes.
- Place a layer of compost (or gravel first, if needed) in the base of the pot.
- Set the plant into position and fill in around the roots, pressing gently to eliminate air pockets.
- Ensure the plant is sitting at the same depth as it was before.
Watering Thoroughly
After repotting, it’s crucial to water well this removes the airpockets
- Soak the plant thoroughly until water runs through the base (or the compost is fully moist if the pot has no holes).
- Allow excess water to drain completely to avoid waterlogging.
This soaking helps settle the compost around the roots and gives the plant a good start in its new home.
Helping Plants Recover
Repotting can cause a little transplant shock. To help your houseplants recover:
- Place them in a humid environment—such as a kitchen or bathroom—for a few days.
- Terracotta pots naturally wick moisture and increase ambient humidity around the plant, which helps recovery.
- Avoid direct sunlight for a few days and resist feeding until new growth appears.
Trim off any dead leaves and keep a close eye on the plant for a week or two. Most houseplants bounce back quickly with a little care.


