Felt Roofing for Sheds – The Ultimate Guide to Weatherproofing, Installation & Care
Felt has traditionally been used as a roofing material for garden sheds, garages and outbuildings and is a practical solution for weatherproofing and protecting structures from the elements. With so many types to choose from, selecting the right felt makes all the difference to the longevity and performance of your roof.
Whether you are replacing an old roof or installing a new one felt is a simple and reliable solution for all your roofing needs. Read on as we explore why choose felt, the types available, the tools, materials, and supplies you will need as well as a step-by-step guide to felt installation.
Why choose felt to protect your shed roof
Felt has been a popular roofing material for well over a century and one of the main reasons for this is its competitive price for the durability offered. With proper care and maintenance and following competent installation, a felt roof will typically last for up to twenty five years.
Offering high levels of weather resistance, a felt roof will protect your shed from rainwater and moisture penetration. Felt is a strong and tear-resistant material that will withstand normal rigours, but it is not designed to cope with deliberate sabotage attempts such as sharp knives.
Felt is easy to install and will be easily added by a competent DIYer, although two person assembly is recommended for certain stages. Add to this, the visual appeal of felt with certain mineral finishes with popular colours including black, green, grey, and red.
What types of felt are available
Various types of roofing felt are available to suit different needs, each are designed to provide durability, weather resistance, and ease of installation. Choosing the right felt ensures long-lasting protection and a reliable finish for your roof.
Standard felt
This is the most budget-friendly option and is a popular choice for garden sheds, garages or small outbuildings. It has a bitumen base with a mineral surface, basic weatherproofing and UV protection. It is not suitable for heavy use or extreme conditions.
Polyester reinforced felt
This felt has a polyester layer for added strength and flexibility. It is tear and stretch resistant, and a good choice for areas that move or get minor impacts. It is more durable than standard felt and is a better choice where the budget allows for most projects.
Heavy-duty mineral felt
For professional use only, this felt is the most durable and weatherproof option. Being thicker and heavier than standard felt, it provides longer life and enhanced protection. It is typically used for larger building structures or in high-impact areas. Choose heavy-duty mineral felt for its ability to handle tough conditions.
Tools, materials and supplies needed
Before you begin your felt installation, you will need access to the following tools, materials, and supplies:
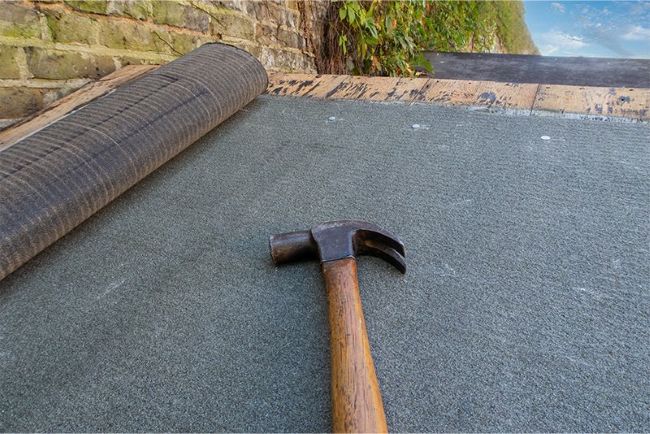
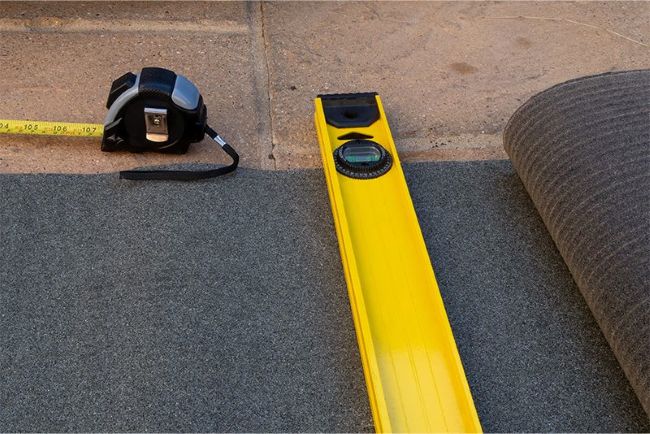
- Tools – broom or brush, chalk line, drill or screwdriver, hammer, level, safety equipment, sandpaper or sander, staple gun, step ladder (or scaffold tower), tape measure, torch, and utility knife
- Materials – barge boards, felt, flashing, plywood or OSB boards, and underlay (optional)
- Supplies – adhesive, fasteners, felt adhesive primer, nails, roofing battens, sealants, and tacks
Felt installation – Step-by-Step
Felt installation gives you a durable, watertight roof layer. Follow these steps for a successful felt project:
Step 1 – Preparation tasks
Remove any old or damaged felt to start with a clean base for the new felt. Use a broom or brush to sweep the roof surface clean, and make sure it is free of debris. Check for any uneven areas and repair or sand down to make the surface smooth. We would only advise the installation of felt on a dry day with low wind speed.
Step 2 – Measure and cutting
Measure the roof with a measuring tape to determine the exact size. Cut the felt with a utility knife on a flat surface to be safe. Leave at least 10cm overlap on each edge to stop water ingress and make it more durable.
Step 3 – Apply adhesives and tacks
Apply roofing adhesive to the roof surface in sections, one area at a time so it does not dry. Apply the adhesive near the edges and any joints for extra strength. Have tacks or fasteners ready to tack the edges in place before full attachment.
Step 4 – Lay the felt
Lay the felt onto the adhesive, starting at the bottom edge and working up. Smooth out any wrinkles or air bubbles as you go, with a roller or your hands to get a flat, and secure fit. Leave the felt to set for a few minutes before moving to the next section.
Step 5 – Secure the felt
Nail or fasten the felt around the edges, 150mm apart. Seal all edges with roofing adhesive or sealant to make it watertight. Leave 20cm overlap between felt sections, tack or nail to keep the felt in line and strong.
Shed roof care is non-optional
There is no other sensible option than to protect your precious shed investment by securing the roof. Replacing old roofing felt keeps your shed watertight and sturdy, especially in the winter months when rain is abundant.
For further information and advice, visit Shedstore’s comprehensive guide to shed roof felting and replacement. It breaks down everything you need, from surface preparation to selecting the right type of felt for your shed’s needs.
Shed roofing FAQs
1. Do I need to fix the roof before upgrading my shed? Absolutely. Your roof is the first line of defence against the elements. Even the fanciest interior makeover will go to waste if the roof leaks.
2. Do I need to replace the flooring? Only if it is caving in or feels like walking on sponge cake. Otherwise, a good clean and some waterproof paint can work wonders
3. What is the best way to keep it weatherproof? Weatherproofing paint, decent roofing felt, and sealing any gaps with silicone or foam should be sufficient
4. Can I add windows or skylights? Of course! Just be ready to get a bit messy with the sawing, and make sure to seal any edges properly to avoid leaks
Final thoughts
So, there you have it, felt is a great choice for shed roofing, it is cheap, durable and easy to install. With the right selection, installation and maintenance a felt roof will weatherproof a shed for up to 25 years. Its many types and finishes mean there is an option for every budget and project, so it is a practical and popular choice.


