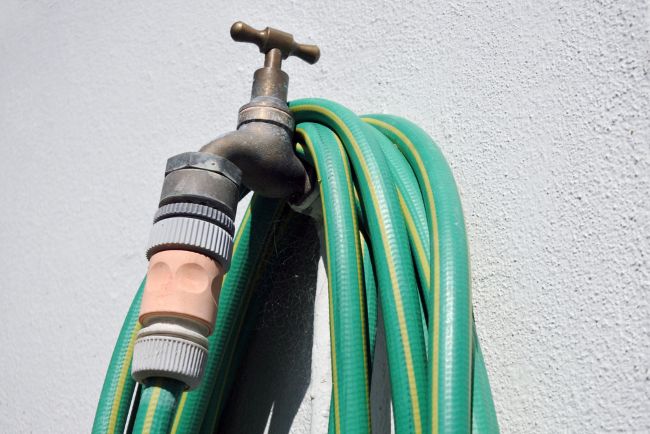
How to Install an Outside Tap in 6 Steps

Looking to install an outside tap for your garden? If you’ve got some DIY and plumbing experience, this is something that you may be able to do yourself. The important thing is to do everything by the book, with no shortcuts that could lead to a leak or other damage down the line.
In this guide, you’ll learn the six steps to follow to successfully install an outside tap.
Step 1: Check If Your Plumbing Setup Supports an Outdoor Tap
Your first task is to locate the nearest cold water pipe inside your house (in most homes, this will usually be in the kitchen or utility room).
Assess your current plumbing and check that it’ll be able to handle the extension and pressure required for an outside tap. If you’re not sure, it’s worth consulting a professional plumbing company, like Military Plumbing, so you don’t end up making an expensive mistake.
Step 2: Gather All The Right Tools And Materials
Once you’ve confirmed that your plumbing is good to go or your plumber has given you the green light, you can move on to gathering all the tools and materials you need for the job. You’ll typically need:
- A drill
- Spade bit
- Pipe clips
- Hose bib
- Isolation valve
- PTFE tape
- Copper or plastic pipe.
You can save yourself the effort of finding all these components separately by buying an outdoor tap kit from your local hardware store, which should include most of the essentials.
Step 3: Drill Through The Wall
Now it’s time to get started with the work. Switch off your water supply, then drill a hole through the wall where you want the tap to sit. For the sake of keeping the job as easy as possible, this should be close to your water source inside.
Make sure to use a level, so your pipe runs straight. You’ll also need to be really careful not to hit electrical cables or other pipes.
Step 4: Fit The Tap And Pipework Securely
Once you’ve finished drilling, connect the pipe from your internal cold water supply to the new hole. This is also the best time to fit an isolator valve inside, so you can turn the tap off during the colder months.
Next, apply PTFE tape, which will help prevent leaks at the joints.
Step 5: Mount The Tap On The Outside Wall
Screw the tap into place, then seal around the entry point using an outdoor-grade sealant. When everything looks good, use brackets to secure the external pipes to the wall.
It’s smart to install the tap so it slopes slightly downward, which will help with drainage and prevent it from freezing when the temperature drops.
Step 6: Test The System For Leaks
Finally, turn the water supply back on and open the isolating valve. Check all the joints, both inside and outside, for leaks.
If you notice any leaks, you might need to tighten your fittings a bit more or apply some more PTFE tape. Also take this time to run the tap to make sure the flow of water is steady.


