Growing Shrubs from Cuttings Using a Simple DIY Polytunnel
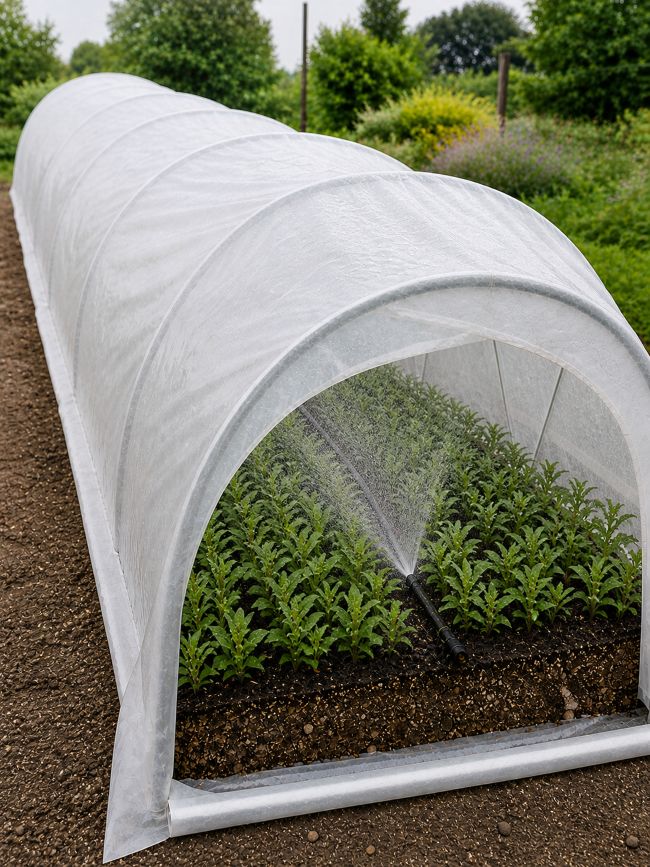
If you want to grow shrubs for your own garden — or produce plants on a semi-commercial scale — one of the most cost-effective and reliable methods is combining a low, row-style polytunnel with semi-ripe cuttings. The setup keeps costs down, requires minimal equipment, and once in place largely looks after itself.
Why Use a DIY Polytunnel?
A purpose-built propagation structure need not be expensive. Bent wire hoops, a length of milky white plastic sheeting (decorator’s plastic works well), a simple soil mix, and a drip irrigation line are all you need. The result is a sealed, humid environment that is ideal for rooting cuttings with very little ongoing attention.
The slightly opaque plastic plays a specific role here: it diffuses light rather than concentrating it, which prevents overheating while maintaining the high humidity that triggers root development.
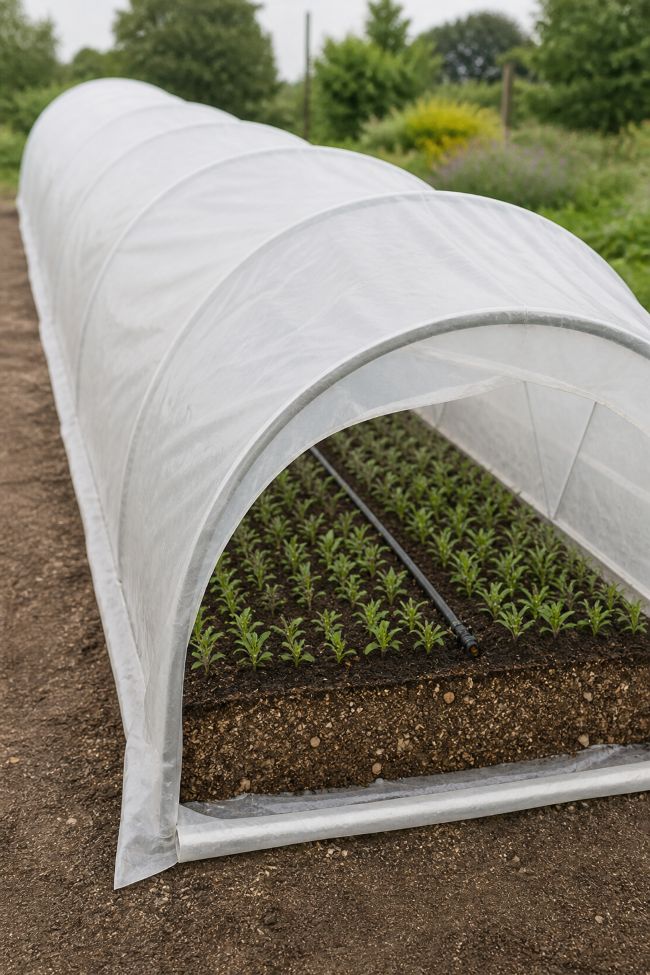
DIY polytunnel open at one end, showing rows of rooted cuttings in a grit and compost mix with a drip irrigation line running down the centre” style=”aspect-ratio:16.41443736730361;width:604px;height:auto”/>A well-established low polytunnel showing rows of cuttings at the rooting stage. Note the drip irrigation line running along the bed — a simple addition that keeps moisture consistent without disturbing the cuttings.
Step 1: Preparing the Ground
Select a strip of ground roughly 3 metres long and 0.5 metres wide, on as level a surface as you can find. Before building the structure, remove or suppress any grass or weeds beneath it — cardboard sheeting, light cultivation, or a covering of opaque plastic all work. This step is worth doing properly. Weeds competing with newly inserted cuttings in a sealed, humid environment can cause real problems later.
Step 2: Building the Structure
Push wire hoops into the ground at even intervals along the length of the bed. Aim for a height of 30 to 50 centimetres — a low profile is important because it concentrates humidity around the cuttings rather than dispersing it into a larger air volume. Drape the plastic sheeting over the hoops and secure the edges with soil, timber battens, or ground pegs to create a fully sealed enclosure.
Step 3: The Rooting Medium
Inside the tunnel, mix equal parts horticultural grit (or sharp sand) and compost, and lay this to a depth of around 10 to 15 centimetres. The grit provides the drainage that prevents basal rot, while the compost holds enough moisture and nutrients to support the cuttings through the rooting period. Getting this balance right is more important than the precise materials used — the key is a mix that drains freely but does not dry out too quickly.
Step 4: Adding Irrigation
Before inserting any cuttings, run a leaky hose or porous seep pipe down the centre of the bed. This allows you to water evenly along the full length without opening the tunnel repeatedly or disturbing newly inserted material. A single connection to a tap or water butt is all that is needed, and the system can be left to run briefly when conditions require it.
Step 5: Taking and Inserting Cuttings
This method suits a wide range of shrubs. Ligustrum (privet), forsythia, fuchsia, lavender, and most semi-ripe shrubs respond well. Take cuttings when the new season’s growth has firmed slightly but not yet become fully woody — typically from midsummer into early autumn. Aim for lengths of 7 to 15 centimetres, remove the lower leaves cleanly, and insert directly into the rooting mix.
Spacing can be quite close. A 3 metre by 0.5 metre tunnel managed carefully can accommodate up to around 1,000 cuttings — which gives you a sense of the productive potential of a very modest structure.
Step 6: Seal and Leave
Once the cuttings are in, water thoroughly via the seep hose and close the plastic completely. From this point, the tunnel functions as a self-contained environment. Moisture transpired by the cuttings recirculates within the sealed space, maintaining the humid conditions that encourage rooting. There is no need to ventilate routinely or apply any feed at this stage.
Aftercare
For the first four to six weeks, check occasionally that the rooting medium has not dried out, but resist the temptation to open the tunnel more than necessary — each opening allows humidity to escape and sets back the process. Once you begin to see signs of new growth at the tips, the cuttings are developing roots and the tunnel can be opened progressively to acclimatise the plants before potting on.
The real appeal of this system is its simplicity. The initial setup takes a few hours, the material costs are low, and once closed it demands very little of your time. For anyone looking to stock a new garden with shrubs, or to propagate plants at scale for GardenAdvice clients, it is hard to beat.