How to create a bonded gravel path on existing concrete areas
Creating a bonded gravel path on an existing concrete area is a straightforward process that involves the following steps:
- Prepare the concrete surface: Clean the concrete surface by removing any debris, dirt, or loose materials. The surface should be dry and free of any oil or grease.
- Apply a bonding agent: To ensure that the gravel adheres properly to the concrete surface, it is recommended to apply a bonding agent. You can use a proprietary bonding agent designed for this purpose or a mix of cement and water (1:1 ratio) as a bonding agent. Apply the bonding agent to the entire surface using a brush or roller, and let it dry for at least 24 hours.
- Choose the gravel: Choose the type and color of the gravel you want to use for your path. Make sure the gravel is appropriate for use as a walking surface and won’t create any trip hazards. You can use a single type of gravel or mix different colors or sizes for a decorative effect.
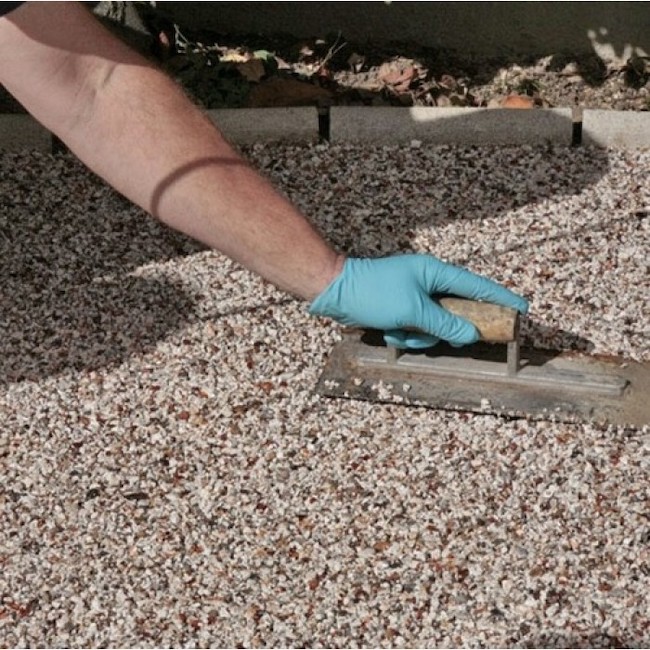
- Spread the gravel: Spread the gravel evenly over the surface of the concrete, using a rake or a shovel. The depth of the gravel layer should be about 1-2 inches, depending on the size of the gravel used. Level the surface of the gravel and make sure it’s even.
- Compact the gravel: Use a vibrating plate compactor or a heavy roller to compact the gravel firmly onto the surface of the concrete. This will ensure that the gravel adheres to the bonding agent and creates a stable surface for walking.
- Fill the gaps: Fill any gaps between the gravel stones with more gravel, and compact again. This will help to create a smooth, even surface that is comfortable to walk on.
- Clean up: Once you’ve finished compacting the gravel, clean up any excess gravel or debris from the surface of the path.
By following these simple steps, you can create a beautiful and durable bonded gravel path on an existing concrete area that will enhance the appearance of your property and provide a safe walking surface for years to come.