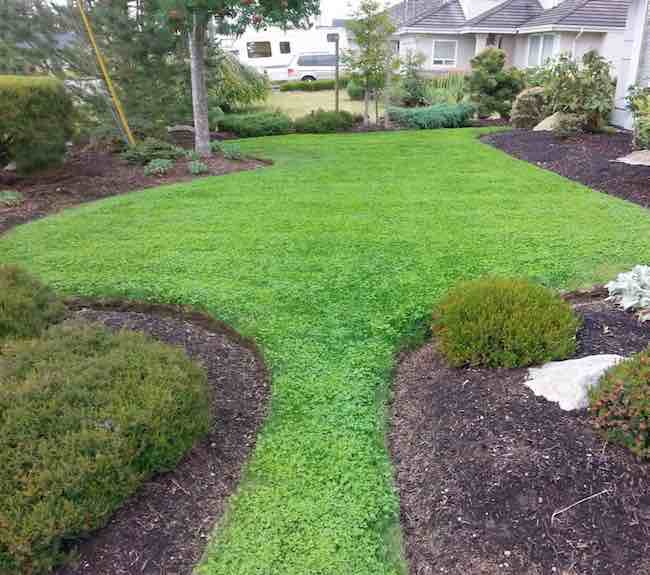
Embracing Change: Transitioning to a Clover Lawn in the Face of Climate Shifts
As our climate undergoes rapid transformations, it becomes imperative for homeowners and garden enthusiasts to adapt their landscapes to withstand the challenges posed by these shifts. One such resilient alternative to traditional lawns is the clover lawn. This eco-friendly and low-maintenance option not only reduces water usage but also supports biodiversity. In this article, we will guide you through the process of overseeing an existing lawn to create a vibrant and climate-resilient clover lawn.
Understanding the Benefits of a Clover Lawn
Clover lawns are gaining popularity due to their numerous environmental and practical advantages:
a. Drought Tolerance: Clover requires significantly less water than traditional grass, making it an ideal choice for regions experiencing water scarcity.
b. Nitrogen Fixation: Clover is a legume that naturally enriches the soil by fixing nitrogen, reducing the need for synthetic fertilisers.
c. Reduced Maintenance: Clover lawns grow slower than grass and do not require frequent mowing, saving both time and effort.
d. Biodiversity Support: Clover attracts beneficial insects like bees and butterflies, promoting a healthier and more diverse ecosystem.
e. Climate Resilience: Clover is more adaptable to changing weather patterns, making it a sturdy choice for the evolving climate.
Assessing Your Existing Lawn
Before transitioning to a clover lawn, evaluate the current state of your lawn:
a. Grass Type: Identify the species of grass in your lawn, as some varieties may coexist harmoniously with clover.
b. Soil pH and Composition: Test the soil to ensure it is suitable for clover growth. Clover thrives in well-draining soil with a pH between 6 and 7.
c. Weed Presence: Take note of any prevalent weeds, as they may compete with the clover.
d. Sunlight Exposure: Clover performs best in areas with partial to full sunlight, although some varieties are more shade-tolerant.
Preparing the Lawn
a. Mow the Existing Grass: Trim the grass to a height of about 1-2 inches. This will allow the clover seeds to reach the soil effectively.
b. Remove Debris: Rake away any leaves, twigs, or debris to create a clean and even surface.
c. Aerate the Soil: Use a garden fork or aerator to puncture small holes in the soil. This improves air circulation and water absorption.
d. Soil Amendments (if necessary): If your soil lacks nutrients or has an unsuitable pH, consider adding organic matter or lime to optimize conditions for clover growth.
Seeding the Clover
a. Choose the Right Clover Variety: Select a clover variety that suits your specific climate, soil type, and sun exposure.
b. Seed Distribution: Spread clover seeds evenly over the prepared soil. A hand-held spreader can help achieve uniform coverage.
c. Lightly Rake the Soil: Gently rake the soil to ensure good seed-to-soil contact.
d. Watering: Lightly water the area to settle the seeds, but avoid overwatering to prevent seed displacement.
Establishing and Caring for Your Clover Lawn
a. Monitor Growth: Keep a close eye on the clover’s progress and ensure the soil remains consistently moist until germination occurs.
b. Control Weeds: Remove any emerging weeds by hand to give the clover a competitive advantage.
c. Minimal Mowing: As the clover establishes, mow it occasionally to maintain a height of around 2-3 inches.
Transitioning to a clover lawn is a proactive step towards adapting to the changing climate. By overseeing an existing lawn, you can create a resilient, eco-friendly landscape that requires less maintenance and resources. Embrace the transformation and contribute to a more sustainable future for your home and the planet.