How to Grow Garlic from Bulbs: A Winter Planting Guide
Garlic (Allium sativum) is a versatile and rewarding crop to grow, and winter is the perfect time to plant it in many regions. Planting garlic in the colder months allows the bulbs to establish strong roots before spring, ensuring a robust harvest in the summer. This guide will walk you through the process of growing garlic from bulbs, from soil preparation to harvesting.
Why Plant Garlic in Winter?
Garlic thrives in cooler temperatures during its early growth stages. Planting in late autumn or early winter gives the cloves time to develop roots before the ground freezes. The cold weather also helps split the cloves into separate bulbs, a process called vernalization, which is crucial for producing large heads of garlic.
Step-by-Step Guide to Growing Garlic
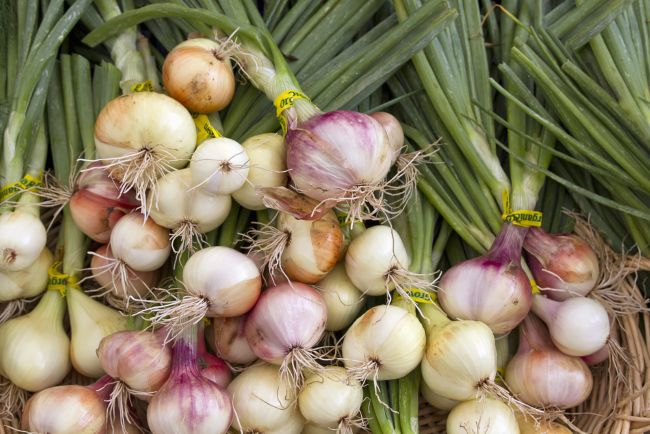
1. Choose the Right Garlic Variety
There are two main types of garlic to consider:
- Hardneck Garlic: Ideal for colder climates, hardneck varieties produce a central stalk (scape) and are known for their robust flavor. They require verbalization to thrive.
- Softneck Garlic: Better suited for milder climates, softneck varieties store well and are commonly found in grocery stores.
Choose certified disease-free garlic bulbs from a garden center or seed supplier for the best results. Avoid using garlic from supermarkets, as these are often treated to prevent sprouting.
2. Prepare the Planting Site
Garlic requires well-drained, nutrient-rich soil with a pH between 6.0 and 7.0. Follow these steps to prepare your site:
- Select a Sunny Location: Garlic needs full sun to thrive.
- Amend the Soil: Add compost or well-rotted manure to improve fertility and drainage.
- Loosen the Soil: Garlic roots grow deep, so work the soil to at least 12 inches to remove compaction.
3. Break and Prepare the Bulbs
Separate the garlic bulb into individual cloves, leaving the papery skins intact. Only plant the largest, healthiest cloves, as they will produce the best bulbs. Reserve the smaller cloves for culinary use.
4. Plant the Cloves
- Timing: Plant garlic cloves 4-6 weeks before the ground freezes, typically between late October and December, depending on your region.
- Depth and Spacing: Plant each clove pointy side up, 2-3 inches deep, and spaced 6-8 inches apart. Rows should be 12 inches apart.
- Mulch: Cover the planting area with a 3-4 inch layer of straw or leaf mulch to insulate the cloves and prevent weeds.
5. Watering and Winter Care
- Water the garlic thoroughly after planting to help the cloves settle in.
- Garlic requires minimal care during winter. The mulch will protect the bulbs from freezing temperatures.
6. Spring and Summer Care
As temperatures warm in the spring:
- Remove Excess Mulch: Pull back the mulch slightly to allow sunlight and air to reach the soil.
- Watering: Water consistently but avoid waterlogging. Garlic prefers moist but not soggy soil.
- Fertilize: Apply a nitrogen-rich fertilizer in early spring to encourage leafy growth.
7. Harvesting Garlic
Garlic is ready to harvest in mid to late summer when the lower leaves turn brown but the upper leaves remain green. Follow these steps:
- Loosen the soil around the bulbs with a fork.
- Gently pull up the garlic and brush off excess soil.
- Cure the bulbs by laying them in a dry, well-ventilated area for 2-3 weeks.
8. Storing Garlic
Once cured, trim the stalks and roots. Store the bulbs in a cool, dry, and dark location. Hardneck varieties typically last 4-6 months, while softneck varieties can last up to a year.
Tips for Success
- Rotate garlic crops annually to avoid soil-borne diseases.
- Remove scapes from hardneck garlic plants in late spring to redirect energy to the bulbs.
- Monitor for pests like onion maggots and fungal diseases, and treat promptly if issues arise.
Planting garlic in winter is a simple and rewarding process that ensures a plentiful harvest of flavorful bulbs. With a little preparation and care, you’ll enjoy the satisfaction of homegrown garlic for months to come. Happy planting!