How to Save Apples and Pears Through the Winter Step-by-Step Storage Guide
A How to Save Apples and Pears Through the Winter Step-by-Step Storage Guide
A good harvest of apples and pears can be enjoyed long after autumn, provided they’re stored correctly. By following a few simple stages, you can keep your fruit fresh and edible right through the winter months. The key is careful preparation, the right storage conditions, and regular monitoring.
Stage 1 — Harvest at the Right Time
- Pick carefully when the fruit is mature but not overripe. Apples should come away from the branch with a gentle twist; pears are often picked while still firm and ripened in storage.
- Choose the best specimens — only store fruit free from bruises, cracks, or insect damage. Even minor imperfections can shorten storage life.
- Handle gently — bruising triggers rapid breakdown.
Stage 2 — Prepare for Storage
- Cool the fruit before storage. Apples and pears keep best at 2–5°C for apples and 4–7°C for pears.
- Sort by variety — early varieties tend to store for weeks, while late-season types can last for months. Use shorter-keeping ones first.
- Keep fruit dry — excess surface moisture encourages rot.
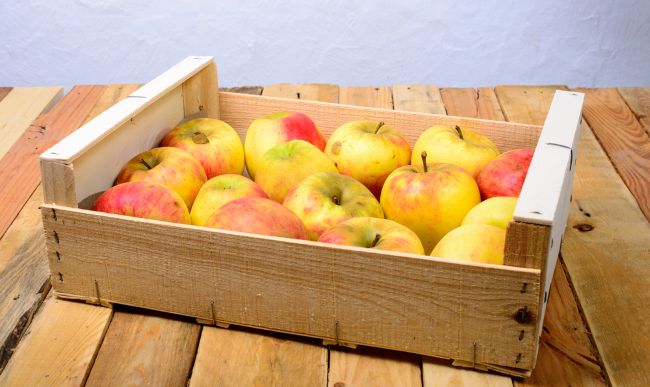
Stage 3 — Use Wooden Trays for Best Results
Wooden trays are a traditional, effective storage method:
- Ventilation: Slatted or open-sided trays allow air to circulate freely, reducing condensation and fungal growth.
- Moisture control: Wood helps buffer humidity, preventing the fruit from drying out too fast or becoming too damp.
- Stackable: Trays can be stacked in a cool, dark, frost-free store, provided air gaps remain between layers.
- Gentle surface: Smooth wood minimises skin damage that could lead to rot.
Always store fruit in a single layer — piling fruit on top of each other increases the risk of pressure bruising. Storage trays Click Here
Stage 4 — Decide Whether to Wrap in Waxed Paper
Wrapping each apple or pear in waxed paper has pros and cons:
Benefits:
- Prevents direct contact between fruit, reducing spread of rot.
- Slows moisture loss, helping fruit stay plump.
- Provides an extra barrier against pests.
Drawbacks:
- Time-consuming if you have a large harvest.
- Some waxed paper is not compostable unless made from natural materials.
- Slightly reduces airflow, which can trap ethylene gas and speed ripening if ventilation is poor.
When it’s worth it:
- Small batches of valuable dessert fruit.
- Storage areas with fluctuating humidity or temperature.
- Long-term storage of late-keeping varieties such as Bramley, Cox, or Conference pears.
Stage 5 — Store in the Right Conditions
- Temperature: Aim for just above freezing — 2–5°C for apples, slightly warmer for pears.
- Humidity: Around 85–90% to prevent shrivelling but avoid dampness.
- Light: Keep the store dark to slow ripening.
- Location: A frost-free shed, cellar, or unheated garage is ideal.
Stage 6 — Inspect Regularly
- Check every 7–10 days for signs of fungal or bacterial rot such as blue mould (Penicillium expansum) or soft brown spots.
- Remove affected fruit immediately — remember the old saying, “One rotten apple spoils the barrel.”
- Handle gently during inspections to avoid bruising healthy fruit.
Stage 7 — Use in Order of Storage Life
- Eat early-season apples and pears first, as they store for a few weeks at best.
- Save long-keeping varieties for later in the winter.
- If any fruit is showing signs of overripening, move it to the kitchen for immediate use — in pies, chutneys, or juice.
Final Tips for a Successful Winter Store
- Never store apples and pears with potatoes — potatoes release moisture that encourages rot.
- Keep varieties separate to avoid mixed ripening times affecting storage life.
- Maintain a consistent storage temperature — sudden changes can cause fruit to sweat and spoil.