Building a Brick Barbecue in Your Garden
Building a permanent brick barbecue in your garden can be a rewarding project that provides a stable, heat‑efficient cooking space. While not easily moved once built, a well‑constructed brick barbecue offers consistent heat and a great outdoor cooking experience.
Advantages of a Brick Barbecue
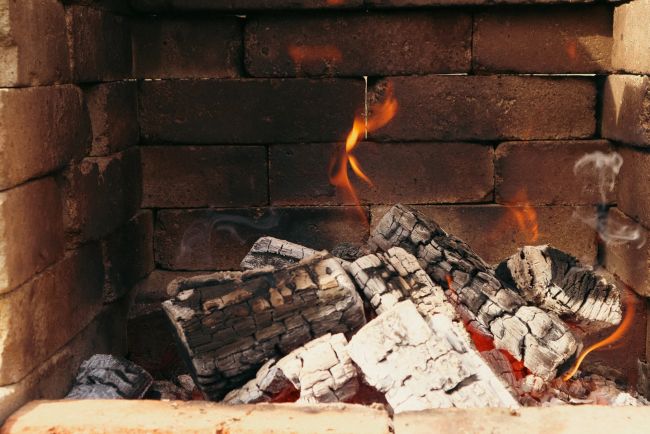
- Retains and Radiates Heat: Engineering bricks or concrete blocks hold heat like a storage heater, giving off steady, even warmth—ideal for longer cooking times (e.g. baked potatoes in foil).
- Solid and Durable: Once built, it provides a robust, weather‑resistant structure.
- Customisable Design: You can tailor the design to your space and cooking needs, including grill height and storage features.
Disadvantages
- Static Placement: Once built, it cannot be easily moved without dismantling.
- Initial Planning Required: Choosing the wrong location can lead to issues with smoke direction and usability.
Planning Your Barbecue
- Choose a Suitable Location
- Use a temporary barbecue first to assess:
- Wind direction and airflow
- Smoke dispersal
- Accessibility from your kitchen or seating areas
- Avoid wind tunnels or areas where smoke might blow back toward your house or seating.
- Select Your Grill and Components
- Choose or custom‑make your grill racks before building.
- Look for metal clips or supports that can be embedded in the brickwork at multiple levels, allowing you to adjust grill height based on heat intensity.
- Decide on a charcoal tray or fire base – this will sit at the bottom and hold your burning material.
Construction Process
- Foundation
- Mark out the base area and create shuttering for a concrete slab.
- Pour and level the concrete to form a solid, level foundation.
- Let the concrete cure thoroughly before building on it.
- Dry Stack to Plan
- Use bricks or blocks to dry‑stack the barbecue first (without mortar).
- Adjust layout and dimensions based on grill size and preferred working height.
- This step helps you visualise the final shape and placement of key elements like grill supports.
- Lay Bricks with Mortar
- Start laying bricks or engineering blocks using mortar.
- Build up courses, embedding the grill support clips at your chosen heights.
- Check regularly for level and alignment.
- Finishing Touches
- Cladding (optional): If using concrete blocks, you can clad the exterior with natural stone or tiles for a decorative finish.
- Engineering bricks often have a clean, attractive look and may not need additional cladding.
Additional Considerations
Paving or Ground Surface
- Create a paved or gravelled area around the barbecue for safe footing and ease of cleaning.
- Ensure space for standing and turning while cooking.
Work Surface or Prep Area
- Consider building a simple side table using blocks or bricks with a flat surface for:
- Prep work
- Holding utensils and trays
- Storing cooked and uncooked food
Final Tip
Once built, let the mortar cure fully before using the barbecue to prevent damage from heat.