Pricking Out Seedlings: A Guide for Healthy Growth
After sowing seeds, the next step in nurturing young plants is pricking out, a crucial process for promoting strong, healthy growth. Pricking out is the act of transferring seedlings from their original sowing container to individual pots once they’ve developed their first set of true leaves. Following this technique carefully can help prevent growth delays and ensure each plant reaches its full potential.
When to Prick Out Seedlings
The best time to prick out a seedling is shortly after it has developed its first true leaves. Typically, seedlings sprout two sets of leaves in the early stages: the first leaves, called cotyledons (or “dicot leaves”), and the second set, which are the true leaves. Prick out seedlings as soon as they have these true leaves, or around the four-leaf stage. Delaying this transfer can stunt the plants’ growth, as the crowded conditions in the original container can check their progress.
How to Prick Out Seedlings Without Damaging Them
The goal when pricking out seedlings is to handle them as delicately as possible, avoiding damage to both the stem and the roots. Here are some steps to follow for a successful pricking-out process:
- Hold by the Leaves, Not the Stem: When picking up a seedling, hold it gently by one of its leaves. It’s essential to avoid holding the stem because any damage to the stem, such as bending or crushing, can be fatal to the plant. Damage to a leaf, on the other hand, is less detrimental.
- Use a Dibber to Lift the Seedling: To extract the seedling with minimal root disturbance, use a dibber—a tool specifically designed for transplanting young plants. If you don’t have a dibber, a pencil or pen works as well. Carefully dig around and beneath the seedling to lift it, trying to capture as much of the root system as possible.
Transplanting into New Pots
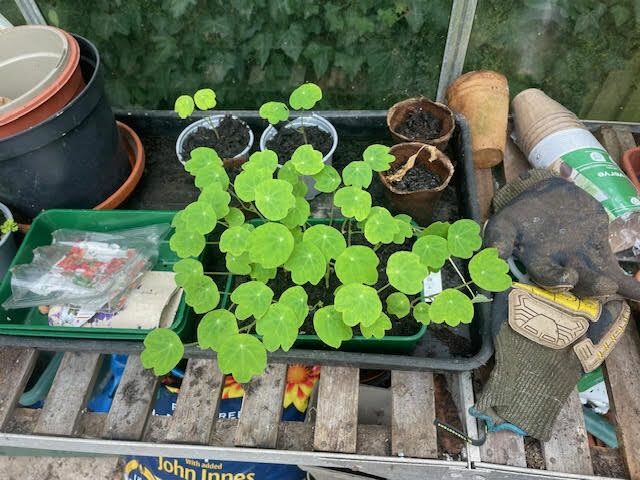
Once you’ve lifted the seedling, it’s time to replant it in a new pot. Most seedlings are pricked out into pots that are around 3-4 inches (75-100mm) in diameter. Here’s how to pot them up properly:
- Prepare the Pot: Fill the new pot with a good-quality compost, ideally John Innes No.1, which has the right nutrient balance for young plants.
- Position the Seedling at the Right Depth: Place the seedling in the new pot at the same depth as it was in the original container. The roots should be fully covered with compost, but the stem shouldn’t be buried too deeply.
- Backfill and Water In: Add more compost around the roots, lightly filling in any gaps. Rather than firming the soil by hand, which can disturb the seedling, water the plant gently to settle the compost around the roots. This step helps remove air pockets that could otherwise hinder root growth.
- Allow Time for Recovery: Newly pricked-out seedlings may appear to droop initially. This is normal and they should recover within a few days as they adjust to their new surroundings.
Tips for Success
- Water carefully: Overwatering can be as harmful as underwatering, so aim for a balance to keep the compost evenly moist without saturation. ( it hard to over water with John Innes compost )
- Provide light but avoid direct sun: Place the seedlings in a bright location but avoid harsh, direct sunlight, which can stress them.
- Monitor temperature: Seedlings thrive in a stable, mild environment. Avoid exposing them to extreme temperature fluctuations.
By pricking out seedlings carefully and giving them the right growing conditions, you set them on the path to becoming strong, healthy plants. With these techniques, you can ensure a successful start for your young plants and look forward to vibrant, robust growth in the months ahead.