How to Create a Simple Edge for a Raised Border or Vegetable Garden
When creating a neat and practical edge for a raised border or vegetable garden, one of the simplest and most cost-effective methods is to use kickboarding — a timber strip commonly used at the base of garden fences. When combined with Building site pegs, this technique provides a sturdy and visually tidy edging that’s easy to install, durable, and adaptable to curved shapes.
Whether you’re edging a vegetable patch, defining a gravel path, or building a raised flower bed, this approach is ideal for gardens of all sizes.
Materials You’ll Need
- Kickboarding (Timber edging):
- Commonly used at the base of fencing (e.g., markslap fences)
- Dimensions: approx. 150mm deep (6 inches) x 25mm thick (1 inch)
- Commonly used at the base of fencing (e.g., markslap fences)
- Sight pegs:
- Dimensions: 300mm long x 50mm x 50mm
- Sharpened at one end for easy driving into the ground
- Dimensions: 300mm long x 50mm x 50mm
- Tools:
- Sledgehammer
- Saw (hand saw or circular saw)
- Screws and screwdriver or drill
- Optional: willow or hazel for decorative edging
- Sledgehammer
Step-by-Step Installation
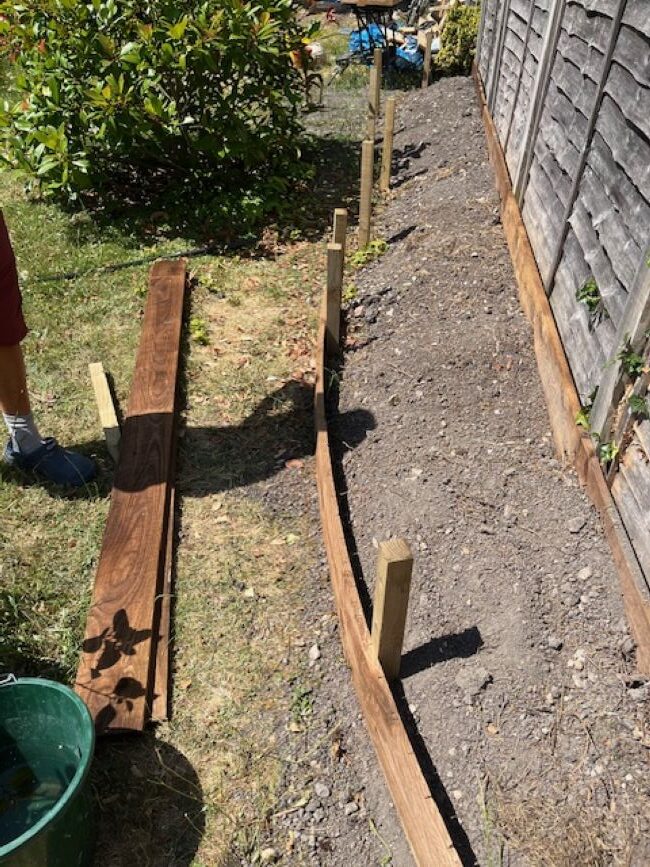
1. Position Your Sight Pegs
- Mark the line where your border will run
- Drive the sight pegs into the ground with a sledgehammer
- Don’t worry about damaging the top of the pegs — they’ll be trimmed later
2. Attach the Kickboarding
- Screw the kickboarding horizontally onto the pegs to create your edging
- Ensure the boards sit firmly against the ground to contain soil or mulch
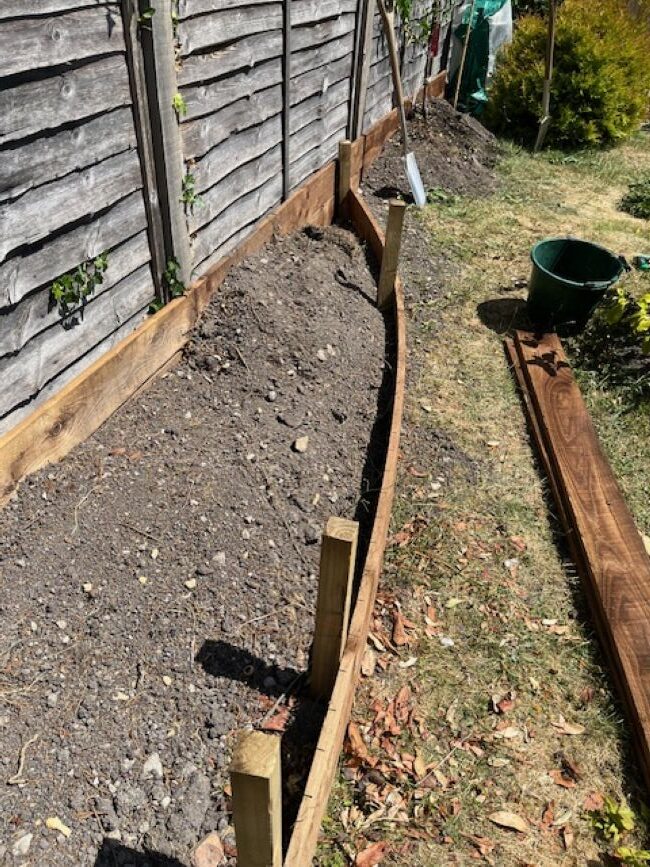
3. Trim the Pegs
- Once the edging is secure, use a saw to trim the tops of the sight pegs to your desired height for a clean finish
Creating Curved or Shaped Edging
To introduce curves or follow shaped paths:
- Cut slots into the back of the kickboarding:
- Use a saw to make cuts three-quarters of the way through the timber at 75mm intervals
- These cuts allow the board to flex slightly, ideal for curves and organic shapes
- Use a saw to make cuts three-quarters of the way through the timber at 75mm intervals
- Handle with care:
- Make the cuts on a bench or stable work surface
- Always carry or stack the timber on its side to avoid snapping the board
- Make the cuts on a bench or stable work surface
Finishing Touches: Enhance the Look
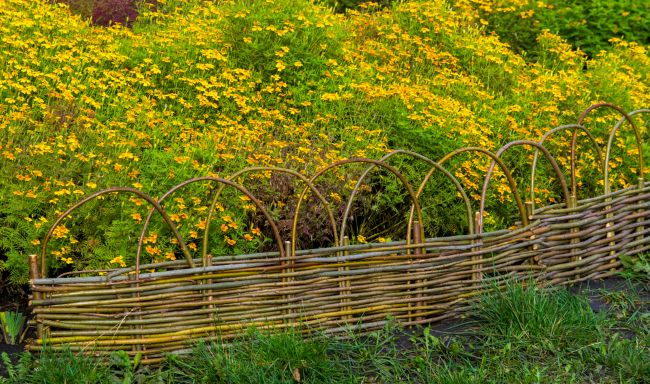
To upgrade the visual appeal of your border edging, particularly in front gardens or public spaces:
- Add a willow or hazel weave in front of the timber edge
- This adds a decorative, rustic finish while retaining the practical function
This method of garden edging is ideal for gardeners seeking a balance between affordability, ease of installation, and a tidy, effective solution that can be adapted to both straight lines and curves. Perfect for vegetable beds, gravel paths, or ornamental borders, it’s a great project for a weekend garden tidy-up.


