Sweet Peas From Seed.

How to Grow Sweet Peas from Seed: A Step-by-Step Guide
Sweet peas are a classic garden favorite, cherished for their vibrant colors and delightful fragrance. Growing them from seed requires preparation and patience, but the effort is well worth it. Here’s a comprehensive guide to ensure a successful start to your sweet pea journey.
Step 1: Timing and Preparing the Seeds
Sweet peas take a long time to mature and flower, so it’s best to start them early. For the best results:
- Start in January:
- Sweet peas are best sown indoors on a sunny windowsill in January. Starting early gives the plants enough time to develop before the flowering season.
- Prepare the Seeds:
- Sweet pea seeds have a hard, thick coat. To encourage germination:
- Chit the Seeds: Use a sharp knife to carefully nick the outer coat, or gently rub the seeds on fine sandpaper or a rough surface like a brick wall.
- Soak the Seeds: After chitting, soak the seeds in water for 12 hours. This helps the seed coat break down, allowing moisture to reach the embryo and initiate germination.
- Sweet pea seeds have a hard, thick coat. To encourage germination:
Step 2: Sowing the Seeds
Once prepared, the seeds are ready for planting.
- Choose the Right Containers:
- Sow the seeds in seed trays or, ideally, one seed per 50mm (2-inch) pot. Using individual pots minimizes root disturbance when transplanting.
- Use Quality Compost:
- Opt for soil-based compost like John Innes Seed Compost or John Innes No. 1 Compost, which provides the right balance of nutrients for seedlings.
- Planting Depth:
- Sow seeds about 1cm (0.5 inches) deep into the compost.
- Maintain Ideal Conditions:
- Place the trays or pots on a windowsill or in a bright location where the temperature is consistently around 16°C (61°F). Germination should occur within 7–14 days.
Step 3: Caring for the Seedlings
Proper care during the seedling stage is essential for healthy growth:
- Transplanting:
- If sown in trays, transplant the seedlings into individual 75mm (3-inch) pots when they reach 75mm (3 inches) in height.
- Pinching Out:
- Once the seedlings grow to 100mm (4 inches) tall, pinch out the growing tip. This encourages side shoots, leading to bushier plants with more blooms.
Step 4: Hardening Off and Planting Out
Before moving the plants outdoors, they must be acclimated to outdoor conditions.
- Hardening Off:
- In late March or early April, place the seedlings in a cold frame or sheltered spot for 1–2 weeks. Gradually expose them to outdoor conditions, starting with a few hours per day and increasing the duration.
- Final Planting:
- Plant the sweet peas in their final positions outdoors in late March or April, depending on your local climate. Choose a sunny, well-drained spot with support structures, such as trellises, canes, or netting, for the plants to climb.
Additional Tips for Growing Sweet Peas
- Watering: Keep the soil moist but avoid overwatering, as soggy soil can lead to root rot.
- Feeding: Once the plants are established, apply a high-potash fertilizer to encourage flowering.
- Deadheading: Remove faded flowers regularly to prolong the blooming period and prevent the plants from setting seed prematurely.
- Support: Install climbing supports early to guide the growth of your sweet peas and prevent tangling.
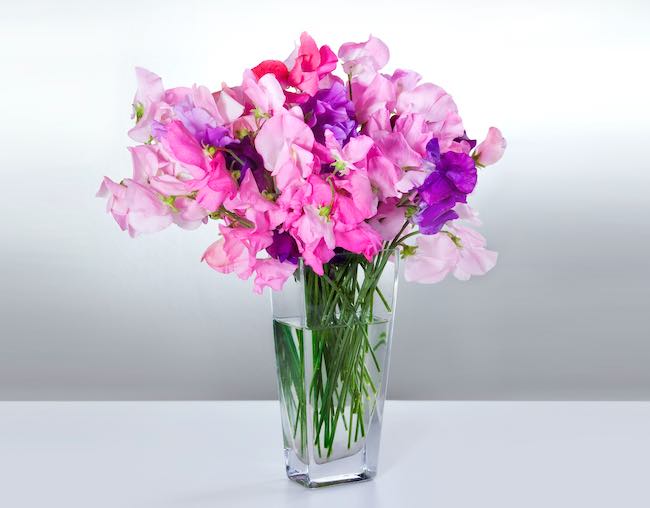
By starting your sweet peas early on a windowsill in January and following these steps, you’ll enjoy a bountiful display of colorful, fragrant flowers throughout the season. These blooms make for stunning garden displays and elegant cut flowers for your home.


