Forcing Of Sea Kale
Question
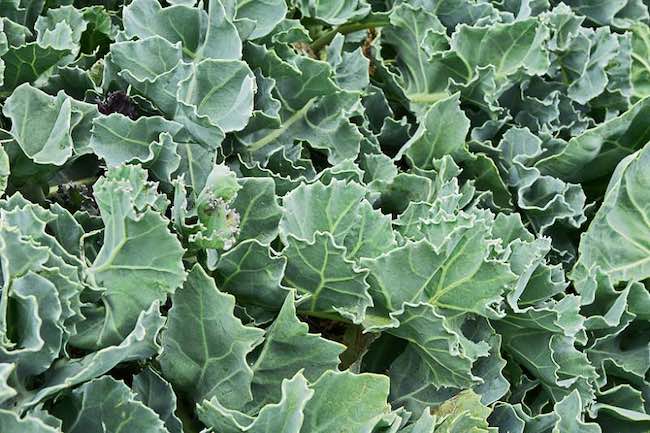
How can I force Sea Kale?
Answer
Firstly, either grow a few Sea Kale plants from seed, or buy a couple of two year old seedlings, if you can find them. Secondly, plant them singly in a large pot, water well and cover with a bucket, or something similar, to exclude the light. Place this contraption somewhere warm, such as in an airing cupboard, on top of a boiler, or beside a fire, if you have one. Keep the soil fairly moist and within a week or two, you will have a fine, small crop of Sea Kale with which to impress your gardening friends.
Or use the Victorian method as adopted by large estate gardens or market gardeners. The first task you need to perform with Sea Kale is the bed preparation. This is best done in November and has many similarities with the preparation of the Asparagus bed.
Firstly, select a very open position, with a deep light soil, and dig in plenty of composted manure. If the soil is a little heavy you may need to add some grit or sand. Once the bed has been initially dug it should not be dug again, just mulched regularly with composted manure. It is important to get the preparation and the drainage right at the beginning. The beds should be about four feet apart with two feet pathways between them. Once the beds have been made don’t ever walk about on them, or you will cause compaction and ruin all your good work.
Spread the beds with a thin layer of salt, let it remain from this time to the last week of March. Then hoe the beds well and sow the seeds in patches two feet apart each way. Using a dibber, plant about six seeds spread in a six inch circle two inches deep. The Victorians did not immediately cover up these seeds until the full row was sown, and then covered them with a little mound of wood ashes.
This wood ash would get washed into the soil adding valuable potash to encourage growth. As the seeds germinate keep them well weeded and thin them by about half.
Keep the seedlings well watered during dry spells throughout the summer. After rain, when the soil is still damp and warm, liberally apply liquid seaweed or other good dilute liquid fertiliser. The Victorians applied ‘a good soaking of house- sewage’, most unsanitary!.
They also applied a regular light dusting of woodash. This can be substituted with more modern, readily prepared products available from your local garden store.
Once the crowns are a year old they are big enough for ‘forcing’. Incidentally, the Victorians also used the same techniques for forcing Asparagus and Rhubarb which was begun, as for Sea- Kale, in November.
They also adapted this technique for the glasshouse and even for indoors ‘by the fire’, as described above.
Back to forcing outside. The Victorians used special Sea Kale pots made from terracotta, which completely excluded the light and so blanching the leaves inside. This was achieved by sprinkling the plant with Sulphur (to prevent rotting)putting the pot on top. Next ‘heap the dung all around and all over the pot, pat it gently to make it lie close, and let each heap extend to fifteen or sixteen inches from the pot all round’.
The idea of all this dung is to keep the pot at a constant temperature of between 55 and 65 degrees F and so encourage the growth of the Sea Kale.
After a couple of weeks you would have had beautiful, blanched, tender Sea Kale. Much appreciated at that time when the produce available would have been mainly limited to that in the root store.
Why not have a go yourself at forcing Sea Kale or making your own Wardian Case? Let me know how you get on and share your results with the rest of the gardening world! email me on projects@gardenadvice.co.uk
For More information click here


