Tips On Growing Camellias
Source: GardenAdvice.co.uk
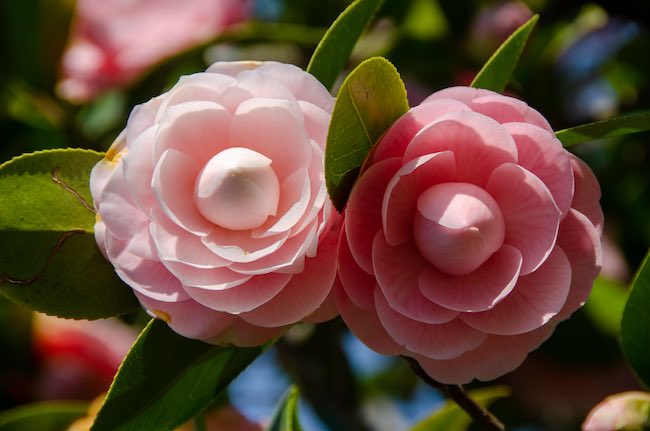
“Camellias are beautiful plants that produce large, colourful flowers in the winter and early spring.”
Camellias bring a splash of colour to the colder months when few other shrubs are in bloom. With the right conditions and a little care, they can thrive for decades and reward you with glossy foliage and exquisite, rose‑like flowers.
Choosing the Right Variety
- Camellia japonica: Classic, large‑flowered forms; best for sheltered gardens.
- Camellia sasanqua: Earlier‑flowering, lightly scented, and slightly more sun‑tolerant.
- Camellia × williamsii hybrids: Tough, cold‑hardy selections that drop spent petals cleanly.
Check the mature height and spread on the plant label to ensure it suits your space.
Site and Aspect
Camellias prefer dappled shade or morning sun with afternoon protection. An east‑ or north‑facing site prevents harsh winter sun from scorching frost‑covered buds. Avoid windy corners, which can damage emerging blooms.
Soil Preparation
- Aim for acidic soil (pH 5.0–6.5).
- Work in plenty of leaf mould, pine needles, or ericaceous compost to improve drainage and maintain acidity.
- If your soil is alkaline, grow camellias in large containers of ericaceous compost.
5. Planting Step‑by‑Step
- Dig a hole twice as wide as the rootball and just as deep.
- Tease out any circling roots and set the plant so the top of the rootball is level with the soil surface.
- Back‑fill with the enriched soil, firm gently, and water thoroughly.
- Mulch with bark or leaf mould, keeping it clear of the stem.
Watering and Mulching
Camellias dislike drying out, especially from midsummer to early autumn when next year’s flower buds form. Keep the soil evenly moist and top up mulch annually to conserve moisture and suppress weeds.
Feeding and Acid Maintenance
Apply a slow‑release, acid‑loving fertiliser in early spring and again in midsummer. Liquid seaweed feeds can be used fortnightly during the growing season to boost bud formation.
Pruning and Shaping
Minimal pruning is needed. Immediately after flowering:
- Remove dead, weak, or crossing branches.
- Lightly trim to shape if necessary.
Avoid heavy pruning, as camellias are slow to reshoot from old wood.
Frost and Weather Protection
Cover young plants with fleece when hard frost is forecast. Container‑grown specimens can be moved to a sheltered spot or unheated greenhouse during severe cold snaps.
10. Common Pests and Diseases
- Scale insects and spider mites can be controlled with horticultural soap or oil sprays.
- Camellia petal blight causes brown blotches; collect and bin fallen petals to break the cycle.
- Watch for root rot in waterlogged soils—improve drainage and avoid over‑watering.
Supporting Heavy Blooms
Large‑flowered cultivars may need discreet bamboo canes or a low ring of twine to keep branches from flopping under the weight of wet blooms.
Container Care
- Use a 40 cm (16 in) pot or larger, filled with ericaceous compost.
- Raise containers on feet for drainage.
- Repot every 2–3 years or top‑dress annually with fresh compost and feed.
Troubleshooting Poor Flowering
- Bud drop often results from drought the previous summer—water consistently.
- Yellowing leaves signal alkaline soil or nutrient deficiency—apply iron sequestrene or ericaceous feed.
- Lack of buds may indicate excessive shade; move to a brighter, but still sheltered, position.
With acidic soil, steady moisture, and protection from extremes, camellias will grace your garden with elegant winter and spring colour for many years. Follow these straightforward tips and enjoy their timeless charm season after season.


