How to Repair a Damaged Lawn After Building Works: A Step-by-Step Guide
Repairing a Damaged Lawn After Building Works or Excavation
Undertaking building works or excavation can significantly disturb your lawn, leading to uneven surfaces and damaged grass. However, with proper techniques and care, you can restore your lawn to its former glory. In this guide, we’ll walk you through the process of repairing a damaged lawn step-by-step.
1. Reinstating and Firming the Soil
The first step in repairing your lawn is to replace all excavated soil back into the area. It’s essential to firm the soil thoroughly to ensure stability:
- Use your feet to compact the soil by pressing heel-to-toe.
- If available, use mechanical compaction tools for a more uniform result.
Aim to match the surrounding lawn levels as closely as possible. It’s crucial that the soil feels firm underfoot; avoid leaving it loose or fluffy, as this can hinder the establishment of new grass.
2. Creating a Seed Bed (Tilth)
Next, you’ll want to prepare a proper seed bed for the grass. Rake the surface using a springbok rake or wire rake. Your goal here is to create a fine tilth about 12mm deep
- A lightly crumbed soil surface
- Free from large clods
This preparation helps to ensure good seed-to-soil contact, which is vital for germination.
3. Sowing the Grass Seed
Now it’s time to apply the grass seed evenly across the prepared area. A good rule of thumb is to use about one handful of seed per square metre. Once applied, lightly re-rake the surface to mix the seed into the top layer of soil.
Don’t forget to remove any stones larger than 25mm, as these can impede the growth of the grass.
4. Final Levelling and Firming
After sowing the seeds, lightly rake again to achieve the final levels. Firm the surface by treading over it with your feet, but only if the soil is reasonably dry. Remember this key principle:
- Grass seed germinates better in firm soil than loose soil, which dries out quickly.
5. Watering and Moisture Control
Proper watering is crucial for successful germination. Keep the area consistently moist for 10–14 days. It’s ideal to use a spray line or a leaky hose, as this produces a gentle mist-like irrigation that prevents seed wash-off. Avoid letting the surface dry out at any point during germination.
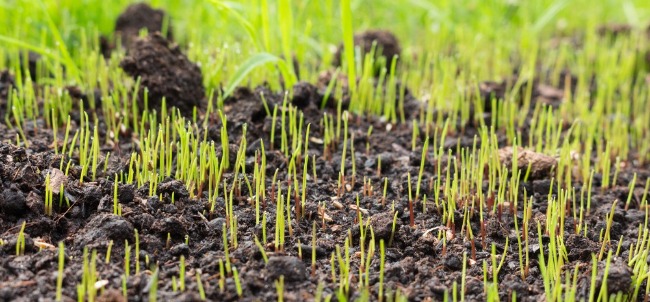
6. Early Establishment (After Germination)
Your grass should begin to germinate within 10–14 days. Once you can see grass blades poking through the soil, lightly rake the area again to remove any remaining larger stones that could hinder growth.
7. Create thicker growth
When your grass reaches approximately 25mm in height, it’s time to encourage thicker growth. Lightly tread with your feet or roll over the surface. This slightly damages the tips of the grass, which encourages tillering (growing side shoots) and ultimately leads to a thicker, denser lawn.
8. Overseeding Thin Areas
As your lawn continues to grow and develop, keep some seed back for patching any areas that fail to establish. If you notice thin or bare spots, re-seed these areas and lightly rake and firm the soil again after overseeding to ensure good soil contact.
9. First Mowing
Once your grass has established, typically after about six weeks, you can carry out the first cut. Make sure to set the mower on a high setting initially and ensure that the ground is firm before mowing. This will promote healthy growth and prevent further damage to your new lawn.
Top gardeing tips for sowing grass seed
- Firm soil equals better germination.
- Consistent moisture is critical to support seed establishment.
- Don’t rush mowing — allow proper establishment before your first cut.
- Always keep some grass seed back for patching and repairs.
By following these steps and giving your lawn the care it needs during its recovery, you can enjoy a lush, green yard once again.


