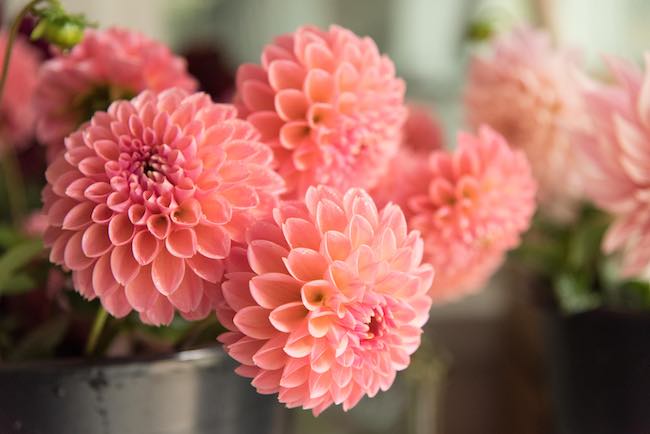
Overwintered Begonias & Dahlias And Taking Cuttings

To overwinter Dahlias and Begonias, wait until after the first frost in autumn to dig up their tubers. Shake off any excess soil and carefully remove the stems and leaves. Allow the tubers to dry for a few days in a cool, dry place such as a basement, garage, or shed. Once dried, store them in a container filled with peat moss, vermiculite, or sawdust to help prevent them from drying out. Check on the tubers periodically throughout the winter, discarding any that show signs of rot. To help reduce the risk of fungal disease The GardenAdvice Team often dust the tubers with yellow sulphur dust
Starting Dahlias in Late Winter
Late winter (often from late January through early March, depending on your climate) is an ideal time to start Dahlia tubers indoors to give them a head start for the summer. Here’s how:
- Choose the Right Pots
- Use 100 mm (4-inch) pots, which provide enough space for the young roots to develop.
- Use John Innes Compost No. 1
- Fill each pot with John Innes Compost No. 1. This soil-based mix provides a balanced environment with good drainage and the right nutrients to encourage early growth.
- Plant the Tubers
- Gently place the tuber so that any visible “eyes” or buds face upward. Cover the tuber with compost, leaving just the top of the tuber visible, or lightly covered, to prevent rotting.
- Water and Warmth
- Water lightly after planting. Keep the pots in a warm place (around 13–15°C/55–59°F if possible) to encourage sprouting. Ensure the compost remains moist but not waterlogged.
As the tubers begin to produce new shoots, keep an eye on watering and rotate the pots occasionally if they’re on a windowsill to encourage even growth.
Taking Softwood Cuttings from Early Dahlia Growth
Once your Dahlias have sprouted and the shoots are a few inches tall, you can take softwood cuttings to increase your stock of plants:
- Select Healthy Shoots
- Choose strong, healthy shoots that are 7–10 cm (3–4 inches) in length.
- Cut Below a Leaf Node
- Using a clean, sharp knife or secateurs, make a clean cut just below a leaf node.
- Prepare Cuttings
- Remove the lower leaves, leaving only one or two sets of leaves at the top. Dip the cut end in rooting hormone (optional but beneficial) to encourage faster root development.
- Potting Up
- Place the cuttings in small pots or a tray filled with a free-draining seed or cutting mix. Water gently and place the cuttings in a warm, bright spot out of direct sunlight.
- Aftercare
- Keep the compost slightly moist and maintain moderate humidity around the cuttings, for instance by covering them with a clear plastic propagator lid or plastic bag. Ventilate daily to prevent fungal issues. Once roots form (in a few weeks), pot them into individual containers, and grow them on until it’s safe to plant them outdoors in late spring.
Overwintering Begonias and Spring Propagation
- Overwintering Begonia Tubers
After the first autumn frost, treat Begonia tubers in the same way as Dahlias: clean them, allow them to dry, and store them in a cool, dry place. - Propagating Begonias
In spring, begonias can be propagated either from tubers (replanting them once temperatures rise) or via leaf and stem cuttings, which is a simple method to increase your supply of plants. Sometimes Begonia cutting benefit from some bottom heat provided by a small heated propagator
Early January Preparations
Early January (or late winter in general) is a perfect time to start many of your summer-flowering plants, including new or overwintered Begonias and Dahlias, as well as sowing sweet peas from seed. By getting an early start, you’ll encourage vigorous growth and ensure a colourful display when summer arrives.
Whether you’re lifting and storing tubers or starting them early indoors in pots, these simple preparations and propagation methods will help you enjoy an even more abundant floral show in the year to come. By taking advantage of softwood cuttings, you can multiply your Dahlia stock and fill your garden or containers with a spectacular array of blooms.
GardenAdvice AI agent answering your gardening questions
FAQ


