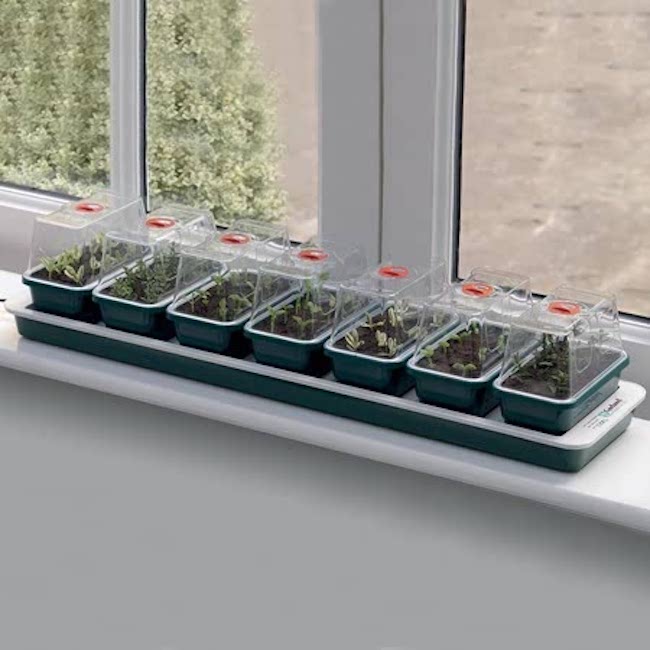
Heated propagators are a useful tool for amateur gardeners who want to get a head start on their growing season, or who want to propagate plants from seeds or cuttings. Here are some tips on how to use them effectively:
- Choose the right size: When purchasing a heated propagator, consider the size you’ll need. A smaller propagator will be sufficient for starting a few seedlings, but if you plan to propagate a large number of plants, you may want to invest in a larger propagator.
- Set up in the right location: Heated propagators should be set up in a warm and well-lit location, such as a greenhouse or sunny windowsill. They should also be placed on a level surface.
- Use appropriate compost: Use a good quality compost that’s suitable for seedlings or cuttings. Ensure that the compost is moist but not waterlogged.
- Sow seeds or plant cuttings: Once the propagator is set up, you can sow your seeds or plant your cuttings in the compost. Follow the instructions on the seed packet or cutting label for planting depth and spacing.
- Monitor temperature: The temperature in the propagator should be kept between 18-21°C (64-70°F) for most seedlings and cuttings. You can adjust the temperature using the thermostat that’s usually included with the propagator.
- Keep the compost moist: Check the compost regularly to ensure it stays moist. If it becomes dry, gently water it using a fine mist spray.
- Ventilate when necessary: To prevent the build-up of moisture and condensation, it’s important to open the propagator lid occasionally to ventilate. This is particularly important once the seeds or cuttings have germinated or rooted.
By following these simple steps, amateur gardeners can use heated propagators to successfully grow seedlings and propagate plants.


